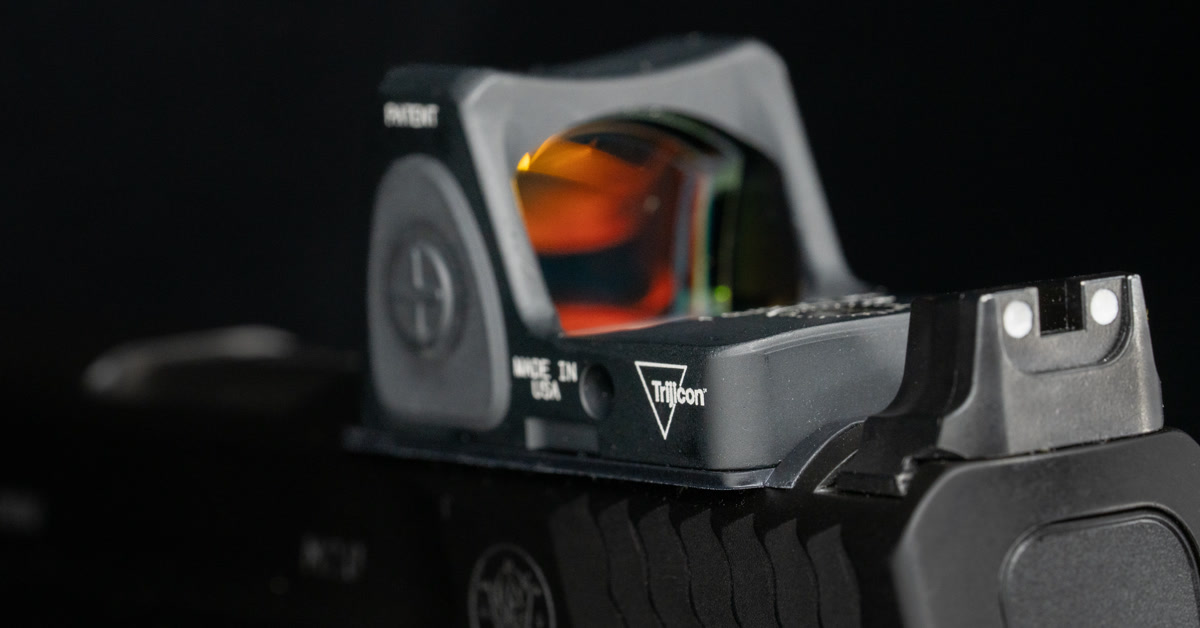
Photo: “Trijicon RMR Pistol Optic on S&W Gun - Smith and Wesson M&P 2.0 Handgun.jpg” by Tony Webster, via Wikimedia Commons, licensed under CC BY-SA 2.0. Cropped and resized by Iron Saddle Armory. The cropped image is distributed under CC BY-SA 2.0. The photograph shows third-party products and does not establish Iron Saddle Armory product compatibility or imply manufacturer endorsement.

Small accessory screws can create large troubleshooting sessions. An optic shifts, a light develops a wiggle, or a rail attachment that felt solid at the bench starts rattling in the range bag.
The usual response is to tighten everything harder and add whatever thread locker happens to be closest. That can work right up until it does not. A loose accessory is annoying, and a stripped screw can make the repair considerably more expensive.
The better approach is to treat every fastener as part of a specific joint. The screw, mating surfaces, torque value, and thread treatment all have to agree.
Before working on anything attached to a firearm, unload it completely, remove all ammunition from the work area, and follow the firearm and accessory manufacturers' instructions. NSSF's maintenance guidance also recommends regular inspection and manufacturer-directed service instead of unqualified modification.
Start with the joint specification
An optic-to-plate screw is not the same joint as a plate-to-slide screw. A light clamp is not an M-LOK T-nut. A metal accessory on a metal rail can have a different limit than a metal accessory on a polymer mounting surface.
That matters because torque is only an indirect way to create clamp load, the force holding the parts together. Screw size, material, surface condition, lubrication, and any locking compound can change the result. Use the torque value and unit specified for that exact joint.
Make a short record for each fastener:
- What two parts does it clamp?
- What screw size, pitch, and length does the manufacturer specify?
- What torque value and unit does the manufacturer specify?
- Does the instruction call for clean, dry threads, a supplied thread patch, or a named liquid compound?
- Is the screw reusable, or should it be replaced after removal?
If any answer is missing, ask the manufacturer before improvising. A screw can feel tight because it has clamped the parts correctly, but it can also feel tight because it bottomed out, cross-threaded, or encountered old compound. The wrench alone cannot distinguish between those conditions.
Apply the specified torque correctly
Use a quality inch-pound torque driver with the correct bit. Seat the bit fully, keep the driver aligned with the screw, and tighten in the sequence the manufacturer gives. If multiple screws share a clamp, bring them up evenly rather than fully tightening one first.
Material pairing can change the allowed value. Magpul's M-LOK instructions, for example, list different maximum installation torques depending on whether the accessory and mounting surface are metal or polymer. Those numbers belong to that system. They are a useful example of why a value copied from one mount should not migrate to another.
Over-torque is not extra insurance. Vortex warns that excessive ring-screw torque can deform an optic tube and restrict internal components. Its ring-torque guidance also says to follow the product manufacturer and not add thread-locking compound to those screws. The lesson is broader than scopes: more torque can damage the fastener, accessory, or mounting surface without making the joint more trustworthy.
Use only the specified thread treatment
Thread locker is not a universal cure for movement. Some manufacturers require a specific product. Some supply screws with a pre-applied patch. Others explicitly say to use no liquid compound.
Even products that look similar are designed for different jobs. Henkel describes LOCTITE 222 as a low-strength anaerobic thread locker intended for small fasteners and normal hand-tool removal. That does not make it correct for every optic, light, or rail screw. Product name, strength, substrate, cure time, and the accessory maker's instructions all matter. Color alone is not a specification.
If a liquid product is authorized, prepare the threads exactly as directed and use only the specified amount. Flooding a small screw can send compound where it does not belong. It can also change friction during tightening. Let it cure for the required time before use.
Witness marks help you watch the joint
After a fastener has been installed and torqued correctly, a small witness mark can provide a quick visual reference. Apply a thin line across the screw head and the stationary adjacent surface with a removable inspection lacquer or paint marker that is compatible with both materials.
If the two halves of the line no longer align, the fastener or part may have moved. The FAA's torque guidance uses torque seal as a way to verify completed work later. The same principle is useful here, with one important limit: the mark is an inspection aid. It does not create clamp load, lock the threads, or prove that the original torque was correct.
Keep marking compound away from threads, controls, lenses, ventilation openings, and moving parts. Confirm surface compatibility first, especially on finished metal and polymer.
Build a five-minute inspection habit
Inspect a newly installed accessory before use, after its first range session, during normal cleaning, and at the interval its manufacturer specifies. Look for:
- A broken or shifted witness mark
- Movement between the accessory and its mount
- Uneven clamp gaps or a T-nut that did not rotate and seat correctly
- A raised screw head, damaged drive recess, cracked polymer, or distorted mounting surface
- A change in zero, switch operation, clearance, or fit
Streamlight's current TLR RM instructions are a good reminder that fit involves the correct rail key, rail slot, clamp, switch operation, and surrounding clearance, not just whether a bolt can be tightened.
If anything has moved, unload the firearm and stop using the accessory until the cause is identified. Do not simply add more torque. Remove the part as directed, inspect the hardware and mounting surfaces, replace any one-time-use or damaged screw, and reinstall from the correct instructions. When threads, mounts, or critical components are damaged or uncertain, contact the manufacturer or a qualified gunsmith.
The same habit covers small drop-in parts that have no screw to tighten. On a GLOCK® pistol, that includes the magazine catch spring and the magazine release. We carry a Magazine Catch Spring for GLOCK® Gen 1-5, an Extended Magazine Release for GLOCK® G17/G19 Gen 4 & Gen 5, and a release and catch spring bundle for replacing both at once.
The setup card is worth making
One note in your phone can list each accessory, screw, torque value, thread treatment, installation date, and inspection result. That record prevents guesswork about which product and specification were used on each fastener.
Correct fit first. Correct torque second. Only the specified thread treatment. Then mark and inspect. That simple order prevents many common fastener problems.